Wenston
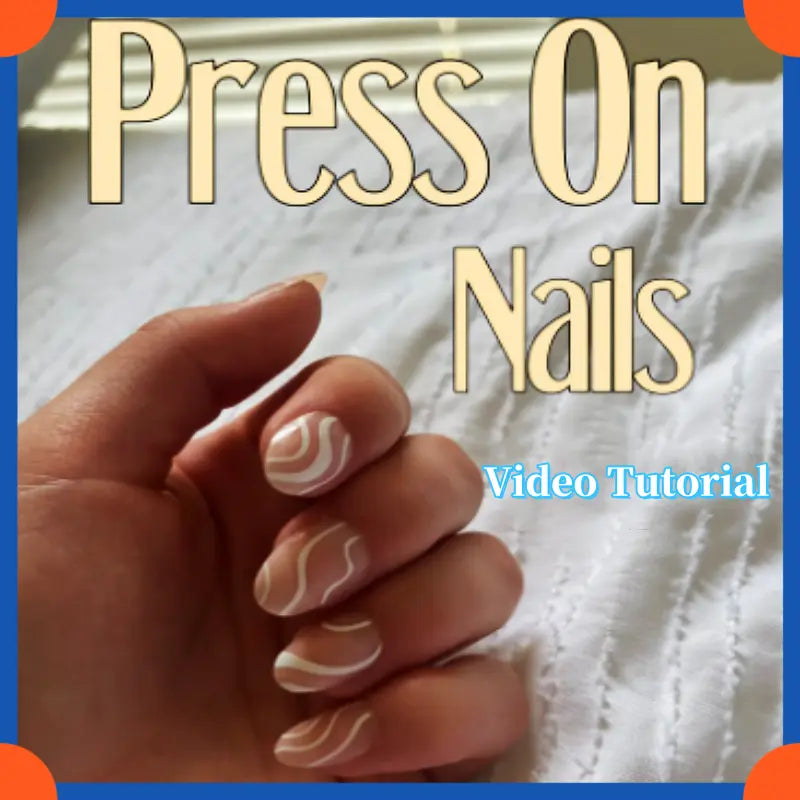
3D Press-on Nails Tutorial Video Suitable for beginners
3D Press-on Nails Tutorial Video Suitable for beginners
Verfügbarkeit für Abholungen konnte nicht geladen werden
Simple 3D Press-On Nails Tutorial for Beginners
This product is a simple tutorial video for beginners on how to make 3D press-on nails. If you want to learn on our website, I can guide you through the steps and teach you how to make 3D press on nails.
We will send you the nail art teacher's teaching video by email!
Materials Needed:
1. **Acrylic or Gel Nail Tips**: Choose the desired shape and length.
2. **Builder Gel or Acrylic**: For sculpting the 3D designs.
3. **Nail Primer**: To prep the nails.
4. **Base Coat and Top Coat**: Gel polish or regular polish as preferred.
5. **Nail Brushes**: For detail work.
6. **Nail Art Tools**: Dotting tools and/or a fine brush for 3D designs.
7. **Pigments or Glitter**: Optional, for decorative effects.
8. **Nail File and Buffer**: To shape and smooth the nails.
9. **UV/LED Lamp**: If using gel products.
10. **Alcohol Wipe or Nail Cleanser**: To cleanse the nails.
Step-by-Step Process:
1. **Prep the Nail Tips**:
- File and shape the nail tips, if necessary.
- Cleanse the surface with an alcohol wipe to remove dust and oils.
2. **Apply Nail Primer**:
- Use a nail primer to enhance adhesion. Ensure it’s completely dry before proceeding.
3. **Apply Base Coat**:
- Apply a thin layer of base coat and cure it under a UV/LED lamp as per the product instructions.
4. **Create the 3D Design**:
- Using builder gel or acrylic, you can sculpt simple designs like flowers, bows, or other embellishments.
- For flowers:
- Take a small amount of gel or acrylic and form petals by rolling them into a teardrop shape.
- Attach the petals to the center (a small ball of gel or acrylic), and use a tool to define details.
- Cure each layer as you work.
5. **Add Color**:
- Once the 3D designs are shaped, you can add color with gel or regular polish.
- Use nail art tools to add fine details, outlines, or accents.
6. **Cure the Nails**:
- If you are using gel products, make sure to cure each layer properly.
7. **Apply Top Coat**:
- Seal in the design with a top coat. This will give it a glossy finish and add durability.
- Cure under the lamp if using gel top coat.
8. **Finishing Touches**:
- Once top-coated and cured, gently buff any areas that might need smoothing.
- Wipe off the sticky residue (if applicable) with an alcohol wipe.
9. **Attach the Press-Ons**:
- Use a suitable adhesive or nail tabs to apply your press-on nails.
Look for videos that clearly detail each step, have good lighting, and provide tips to help beginners. Make sure the tutorial also includes explanations of materials used and personal tips from the artist.